

You picked the perfect LED vanity mirror. The under-cabinet lighting strip is sitting in its box. The mood board is done, the tile is in, and the whole bathroom remodel is about ninety percent there — except for the part where someone actually has to make the electricity work correctly. That last ten percent? It’s where the Mirror with Lighting Electrical Hookup either gets done right or turns into a recurring headache behind a beautiful wall. We’ve seen it both ways, and the difference usually comes down to a handful of decisions made inside the walls before the fixtures ever go up.
Why Bathroom Lighting Wiring Is a Different Animal
Bathrooms sit in a special category under the National Electrical Code — and Arizona’s adopted amendments tighten that further. Anywhere within six feet of a water source, GFCI protection is mandatory. That includes the circuit feeding your lighted mirror, your under-cabinet LED strips, and any outlet you plan to tie them into. Miss that, and you will not pass a city inspection. Try to sell the home later near McCormick Ranch or DC Ranch in Scottsdale, and a sharp inspector will flag it immediately.
Beyond code, there are three practical things that determine whether your accent lighting actually looks the way it did in the showroom:
- Box depth and placement. A recessed junction box that’s too shallow or set at the wrong height forces the fixture to sit proud of the wall — or not mount flush at all. We rough-in to the exact spec of the fixture before drywall closes.
- Circuit load math. LED strips are low-draw individually, but a bathroom with a lighted mirror, under-cabinet runs, toe-kick lighting, and an exhaust fan can easily overload a shared circuit. A dedicated 15-amp circuit keeps everything stable and avoids nuisance trips.
- Dimmer compatibility. Most LED strips and smart mirrors require a trailing-edge (ELV) dimmer, not the standard leading-edge units still common in older Scottsdale, AZ homes. Wrong dimmer = flicker, hum, or shortened driver life.
Under-Cabinet Lighting Wiring: Hardwired vs. Plug-In
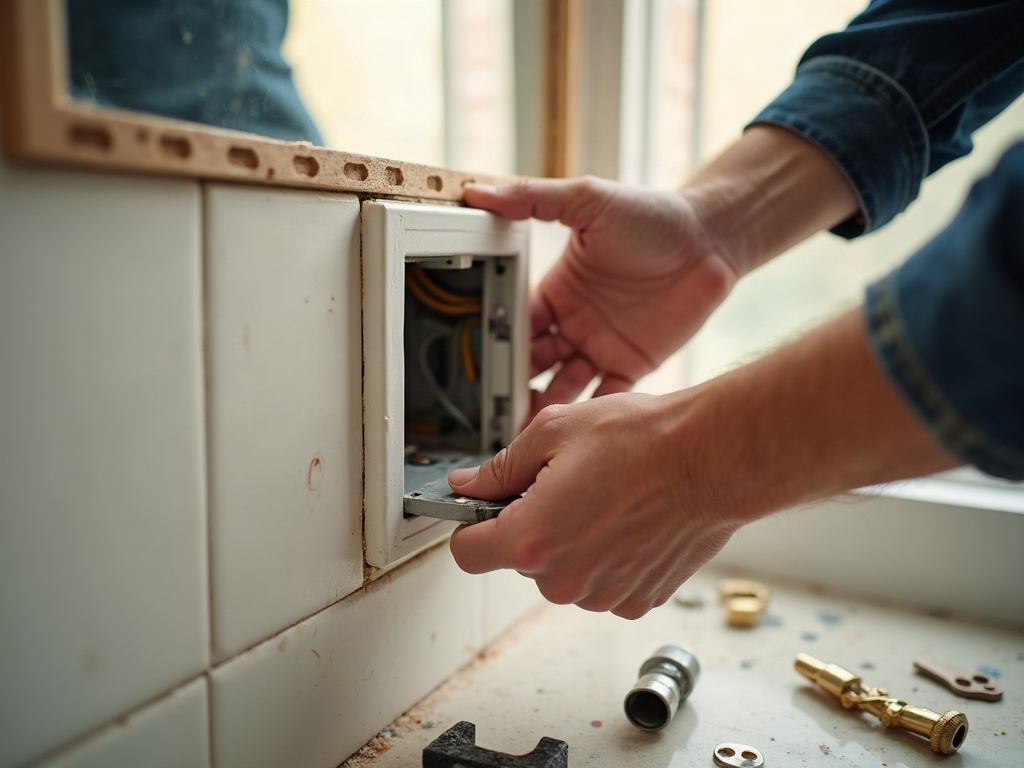
This is the question we get most often on remodel jobs in Scottsdale, AZ, and the honest answer is: hardwired almost always wins if you care about the finished look. Plug-in kits leave a cord hunting for an outlet, and in a bathroom or a kitchen with new cabinetry, that cord is going to bother you every single day.
Hardwired under cabinet lighting wiring runs inside the wall cavity to a switch leg or a dimmer, completely hidden. The driver or transformer gets tucked in the cabinet above or behind the toe kick. Done correctly, there is no visible wire anywhere. The fixture looks like it’s part of the original design — because electrically, it now is.
The fastest way to ruin a high-end remodel is to hardwire lighting on a shared circuit that already carries the bathroom exhaust fan, the outlet strip, and an older HVAC blower. Separate the loads before you close the walls — not after.
If you are mid-kitchen remodel and already pulling permits, this is also the right moment to look at your overall circuit plan. Our post on kitchen remodel electrical circuits walks through the load planning that happens before countertops go in — the same logic applies to a bathroom or vanity build-out.
Vanity Mirror Lighting Install: What the Rough-In Actually Involves
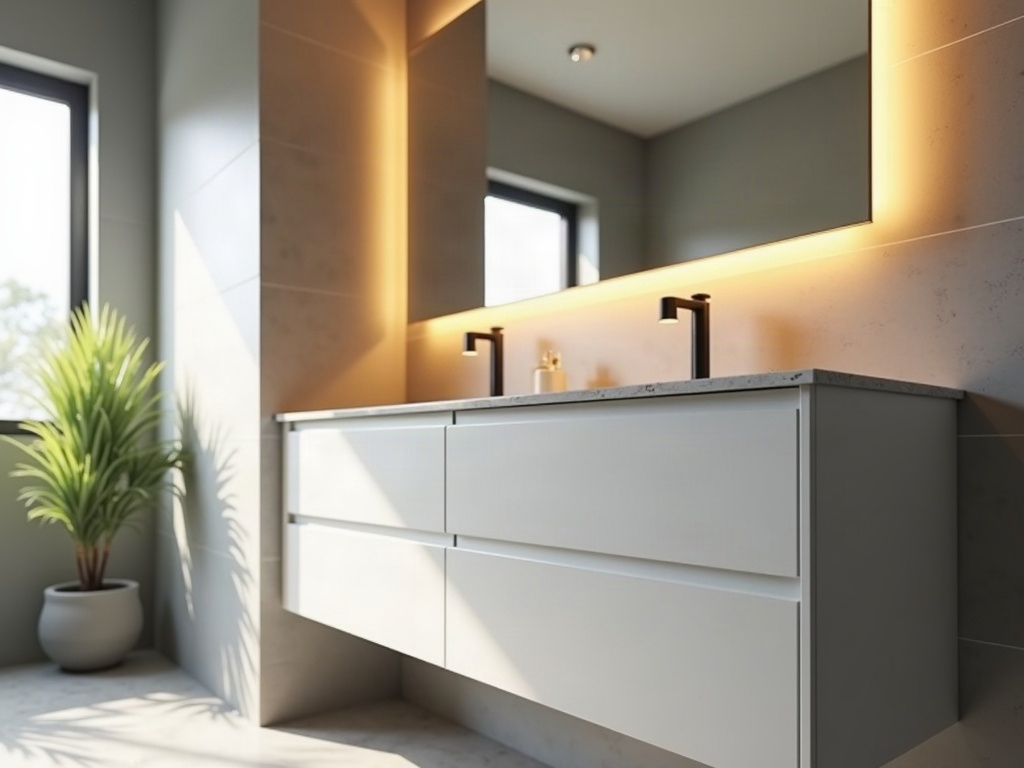
A proper vanity mirror lighting install starts well before the mirror arrives. Here’s the sequence we follow on every bathroom accent lighting project:
- Confirm fixture specs. Wattage, voltage (line-voltage vs. low-voltage), driver type, and mounting requirements all come from the fixture’s spec sheet. We request this before touching the wall.
- Locate and mark the rough-in position. Junction box height is set to the mirror’s center or top mounting point, not guessed. One inch off can mean the fixture won’t cover the box.
- Run the circuit. New wire from the panel or subpanel — not a tap off whatever was already in the wall. For bathrooms, that means 12 AWG minimum on a 20-amp circuit if the mirror has integrated heating, Bluetooth, or a USB hub drawing additional load.
- Install GFCI protection. Either at the first outlet on the circuit or via a GFCI breaker at the panel. Both satisfy code; the breaker option protects the entire run.
- Stage the box for drywall. We set the box depth with a mud ring so the face lands flush after the drywall and tile layer. This step alone prevents most of the callback calls we get on jobs we didn’t originally wire.
Flickering lights after a fixture install are almost always a dimmer mismatch or a loose neutral connection — two things a licensed electrician catches at rough-in. If you’re already seeing flicker issues elsewhere in your home, our breakdown of lights flickering in one room explains exactly how we trace the cause.
A Note for Homeowners in Scottsdale, AZ Doing High-End Remodels
If your project is in the $50,000–$200,000 remodel range — the kind of master bath renovation common in North Scottsdale communities like Silverleaf or Grayhawk — the electrical scope deserves the same attention as the tile selection. That means permits pulled, inspections passed, and thermal imaging on any existing wiring we tie into. Our thermal imaging service catches hidden hot spots before they become a problem behind your brand-new walls. It’s the kind of thing that separates a job done right from one that just looks right.
We work directly with GCs and tile contractors to schedule rough-in and trim-out around the build sequence — no delays, no rework, no surprises on the invoice. If you’ve been burned by a subcontractor who disappeared mid-job, you already know why that matters. Read more about the real risks of hiring an unlicensed electrician in Arizona — and why the credential check is worth making every time.
Ready to get the electrical right before the mirror goes up? Call FHR Electric at (602) 492-9999 for a same-day response and a straight price before the work starts. We’ve been doing this across Scottsdale, AZ and Maricopa County for over 20 years — and we pull the permits so you never have to wonder if it’s up to code.

