

If you’re deep into a bathroom remodel and the new design calls for moving that vanity light — maybe shifting it up, centering it over a new mirror, or switching from a single bar to flanking sconces — you’ve already figured out the obvious part. What surprises most homeowners is that Vanity Light Wiring Bathroom Remodel work is rarely just “unplug the old one, plug in the new one.” The moment the fixture moves, a chain of code requirements, box placements, and sometimes full circuit reroutes kicks in. Let’s walk through exactly what changes and why it matters.
Why Moving a Fixture Isn’t Like Replacing One in Place
A straight swap — same location, same box, new fixture — is about as simple as electrical work gets. Moving the fixture even a foot or two is a different project entirely. The existing junction box is now in the wrong spot, which means new wire needs to run through the wall to reach the new location. In older Scottsdale, AZ homes, especially those built before the mid-1990s near McCormick Ranch or the Gainey Ranch corridor, that wall cavity often contains insulation, blocking walls, or wiring that wasn’t run with future moves in mind. What looks like a one-afternoon job can turn into a half-day of exploratory work before a single new wire is pulled.
There’s also the box itself. Vanity lights carry real weight, and the NEC requires that any box supporting a fixture over 50 lbs use a listed fan-rated or fixture-rated box anchored to structure — not just drywall. If you’re going from a single bar to a heavy decorative fixture above the mirror, the old plastic box probably isn’t compliant for the new load.
The Code Details That Actually Affect Your Remodel
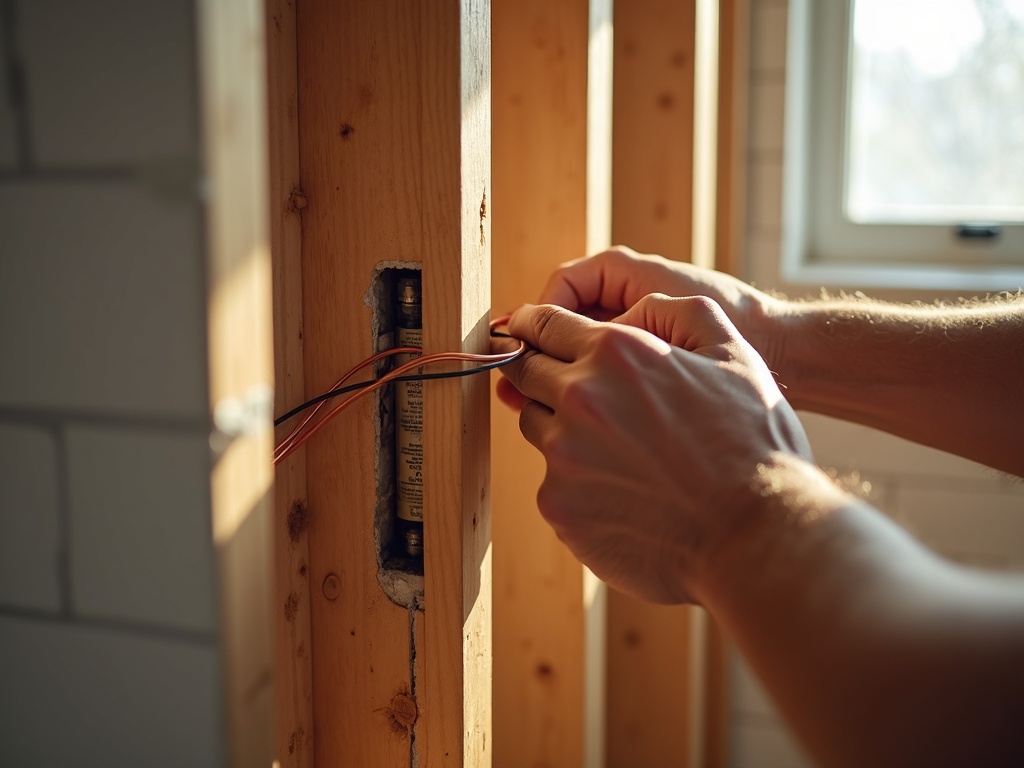
Arizona follows the NEC (National Electrical Code) with state and local amendments enforced by city inspectors in Scottsdale, Phoenix, and across Maricopa County. When we pull permits for a kitchen and bathroom electrical remodel, the inspector will look at a few things specifically:
- GFCI protection — every outlet and hardwired fixture within the bathroom must be on a GFCI-protected circuit. Moving the fixture sometimes means verifying the upstream GFCI is still properly protecting the new location.
- Circuit load — if you’re upgrading from a 40-watt fluorescent bar to a multi-bulb LED fixture with a built-in dimmer, the load calculation changes. We check this against your panel before anything goes in the wall.
- Wire gauge and breaker match — a 15-amp circuit needs 14-gauge wire; a 20-amp needs 12-gauge. Older homes sometimes have mismatched combos that a remodel surfaces. That’s something our breaker replacement and electrical repair team flags and corrects during the rough-in.
- Permit and inspection — in Scottsdale, moving a fixture almost always requires a permit if it involves new wiring. Skipping this is how homeowners end up with problems at resale.
“The permit isn’t bureaucracy — it’s your proof that the work was inspected and done right. In a competitive Scottsdale market, that documentation is worth real money when you sell.”
What the Wiring Work Actually Looks Like

Here’s a realistic sequence for moving a vanity light fixture during a remodel, from our perspective as the electrical crew:
- Locate and de-energize the circuit — we identify the correct breaker and verify with a meter. No guessing.
- Remove the old box and cap or remove the old wiring run — depending on how far the fixture is moving, we either extend from the existing box or pull an entirely new run from the switch location.
- Cut the new opening and set the new listed box — anchored to a stud or with a rated brace bar rated for the fixture weight.
- Fish new wire through the wall cavity — this is the step that separates a clean job from a patchy one. In a finished bathroom, we work carefully to minimize drywall cuts.
- Connect at the switch end — if the switch is moving too, that’s a second rough-in. If not, we tie into the existing switch leg at the correct point.
- Rough-in inspection, then close the walls — your tile or drywall contractor comes in after we’re signed off, not before.
- Trim out and fixture installation — we handle complete fixture replacement and installation so you’re not coordinating a separate handyman for the hang.
If you’re also adding sconces flanking the mirror — a look that’s genuinely popular in higher-end remodels from Old Town Scottsdale to the DC Ranch neighborhood — that’s two additional boxes, two additional wire runs, and a three-way switch configuration if you want them all on one switch. Still very doable; just not a Saturday afternoon DIY project.
When to Call Before You Start Demo
If you’re working with a general contractor on a larger remodel, get the electrical scope confirmed before demo day. We’ve walked into bathrooms in North Scottsdale where the tile crew already closed the walls — and the electrician hadn’t run the new wire yet. That’s an expensive mistake that a five-minute pre-demo conversation would have prevented.
And if your home is older — say, built in the 1980s near Fountain Hills or the original Scottsdale Ranch developments — it’s worth having us check whether the bathroom circuit is already up to current GFCI standards before you spend money on a new fixture. Sometimes the remodel surfaces a panel issue that needed attention anyway. We can assess that same visit.
At FHR Electric, we’ve been doing exactly this kind of work across Scottsdale, AZ and all of AZ Maricopa County for over 20 years — licensed, insured, and pulling real permits. No surprise invoices, no disappearing after rough-in. Call FHR Electric at (602) 492-9999 before your remodel kicks off, and we’ll tell you exactly what the electrical scope looks like start to finish.